 how-to
Audi Engine Cooling System Maintenance Guide
Table of Contents
- Audi Coolant Change Interval: What the Schedule Actually Says
- How to Check Audi Coolant Level (Step-by-Step)
- Audi Coolant Leak Symptoms You Should Never Ignore
- Audi Coolant Flush: A Step-by-Step DIY Procedure
- Coolant Types and Compatibility: Choosing the Right Antifreeze
- Cooling-System Components: Inspecting Hoses, Clamps, and Connections
- Overheating Response and Diagnosis Beyond Coolant Replacement
- Frequently Asked Questions
Last Updated: October 18, 2026
Audi Coolant Change Interval: What the Schedule Actually Says
The Audi coolant change interval is not one fixed number. It depends on your model year, engine code, and the factory coolant fill.
Here is the part most owners get wrong: Audi has used several coolant formulations across generations, and the interval in your service book applies only to the factory fill.
Most modern Audis run a long-life fill with both a time and a mileage limit; whichever comes first wins.
Where to find your number:
- The service booklet or maintenance insert for your model year
- The coolant specification sticker near the expansion tank
- The owner's manual maintenance table
We always tell customers to pull the VIN before buying coolant. Our vehicle safety and recall lookup tool is a good companion check, since some coolant-related campaigns appear there by VIN.
How to Check Audi Coolant Level (Step-by-Step)
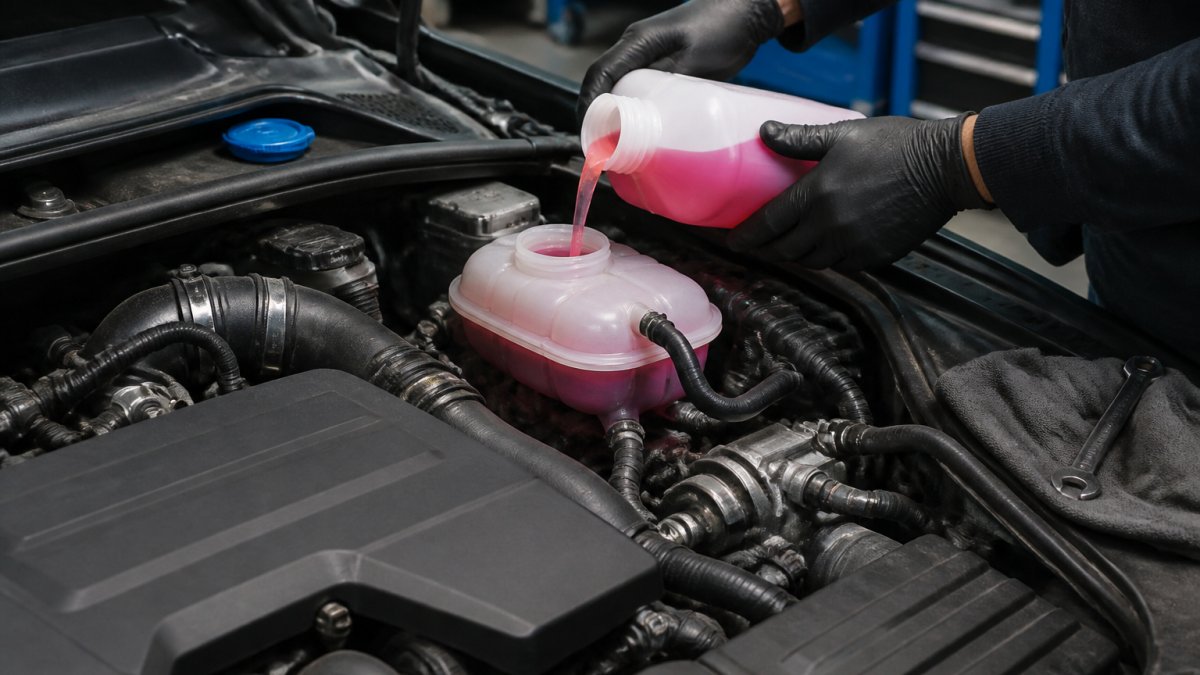
Checking the Audi coolant level takes about two minutes and should happen once a month, plus before any long drive. Do it with the engine cold, on level ground, and never open the cap while the engine is warm.
- Park on flat ground and let the engine cool for at least an hour.
- Find the translucent expansion tank, usually near the firewall on the passenger side.
- Read the level against the MIN and MAX marks molded into the tank.
- Check the color. Clean pink or purple is normal for most Audi fills; brown, milky, or rusty fluid is a problem.
- Look under the car for fresh drips before you walk away.
A cold level between the marks is correct; slightly above MAX when hot is normal expansion, so do not drain it.
Audi Coolant Leak Symptoms You Should Never Ignore
A sweet, syrupy smell after a drive is the classic Audi coolant leak symptom, and it usually shows up before any warning light.
Watch for these signs:
- Sweet smell from the engine bay or heater vents
- Pink or white crust around hose ends and clamps
- Low level in the expansion tank with no visible puddle
The white or pink crust is the tell. Coolant leaves a chalky residue when it dries, so a crusty hose end is a leak that has been seeping for a while.
A slow leak is the dangerous kind.
Audi Coolant Flush: A Step-by-Step DIY Procedure
An Audi coolant flush is a drain, refill, and bleed job most careful owners can do at home with basic hand tools and a drain pan.
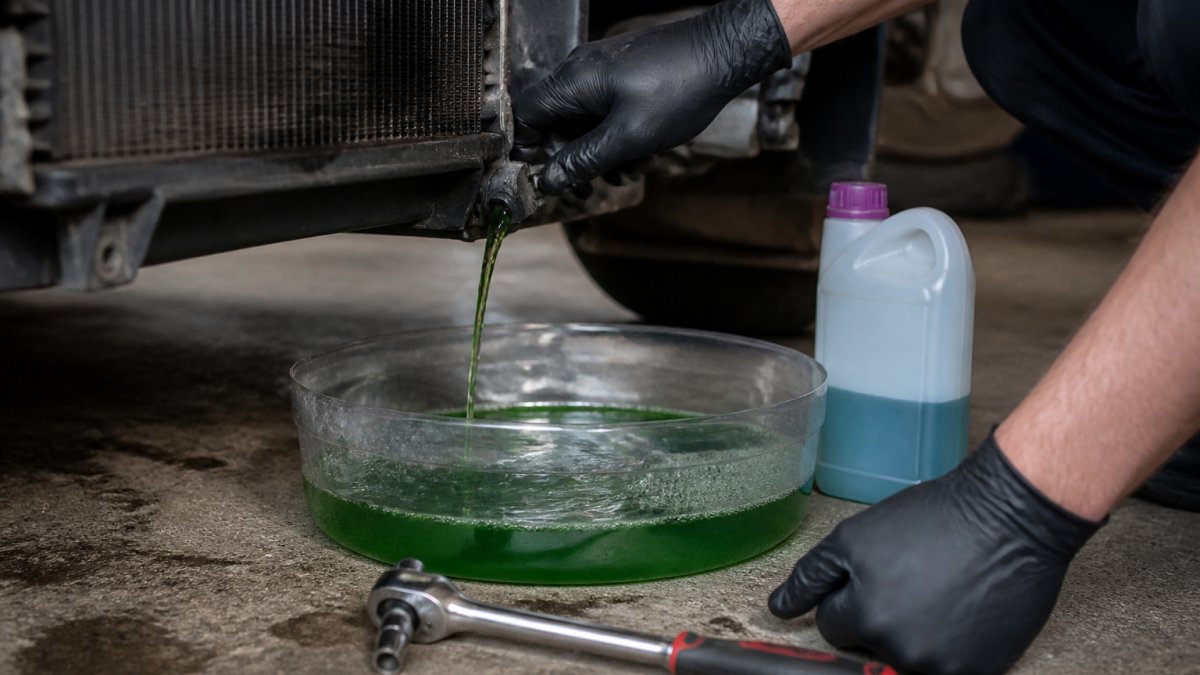
- Let the engine cool completely, then set the heater to full hot so the heater core drains.
- Remove the expansion tank cap to release system pressure.
- Open the radiator drain or pull the lower hose, whichever your model uses, and catch the fluid in a pan.
- Open the block drain if your engine has one. This step is what separates a real flush from a partial drain.
- Reconnect everything and refill slowly with the correct premixed coolant.
- Bleed the system using the bleed screw or the manufacturer's procedure until no bubbles come out.
- Run the engine to temperature with the cap off, topping up as the level drops.
- Cap it, let it cool, and recheck the cold level.
Coolant Types and Compatibility: Choosing the Right Antifreeze
Coolant type is where DIY cooling system maintenance goes wrong most often. Audi fills are not universal, and mixing two chemistries can turn the fluid into sludge that clogs the heater core and radiator.
Audi has used several coolant families across generations. The table below is a starting point, not a substitute for the owner's manual, specifications and intervals vary by model year, engine code, and market.
| Generation / family (verify by VIN) | Typical factory coolant family | What the bottle should say | Notes |
|---|---|---|---|
| Older generations (late 1990s-mid 2000s) | Phosphate-free organic-acid or hybrid organic-acid | The specification printed in the owner's manual for that model year | Chemistry changed across years; do not assume a later fill is backward-compatible |
| Mid-2000s to early 2010s | Hybrid organic-acid (silicate-containing) | The exact specification code for the engine code | Silicate content matters for water-pump seal life |
| Late-model and current | Long-life organic-acid | The specification code shown on the expansion-tank sticker | Premixed and concentrate versions exist; match the spec, not the color |
Compatibility rules we stand by:
- Never mix two coolant types to top up. Top up with the correct one or with distilled water in an emergency, then restore the correct concentration.
- Distilled water only. Tap water leaves mineral deposits inside the radiator and heater core.
- Premixed coolant saves the mixing step; concentrate needs the correct water ratio, typically around 50/50 unless the label says otherwise.
If You Don't Know What's in the System
Unknown fill is common on used cars, and it is the situation most guides skip. A previous owner or quick-lube shop often tops up with a universal product, leaving a mixed fill and no reliable interval.
- Do not add anything until you identify the current fluid. Adding a third chemistry makes the problem worse.
- Pull the VIN and check the factory fill for your model year and engine code.
- Compare what is in the tank against the factory specification. Color, smell, and clarity are weak signals, but a milky, brown, or sludgy appearance is a strong sign of mixing or contamination.
- If the fill is unknown or clearly mixed, plan a full drain, flush with distilled water, and refill with the correct specification rather than topping up.
- After the refill, recheck the cold level for a week and watch for a heater that blows cold on one side, a sign of trapped air or a clogged heater core.
If you are unsure which fill your car left the factory with, our team can help you match the exact part by VIN before you order, so the bottle in your hand is the right one for your engine code.
Cooling-System Components: Inspecting Hoses, Clamps, and Connections
Hose inspection is the cheapest maintenance you will ever do on an Audi cooling system. A five-minute look at the hoses, clamps, and connections every oil change catches most failures before they strand you.
What to check and what failure looks like:
| Component | What to Look For | What It Means |
|---|---|---|
| Upper and lower hoses | Soft spots, bulges, cracks | Replace before they burst |
| Hose ends | Pink or white crust | Seeping connection |
| Spring clamps | Rust, lost tension | Replace with OEM clamp |
| Screw clamps | Loose or over-tightened | Retorque or replace |
| Expansion tank | Cracks, yellowed plastic | Brittle, replace soon |
| Water pump | Weep hole drip, bearing noise | Failing, plan replacement |
| Thermostat housing | Seepage at the seam | Gasket or housing failure |
| Radiator | Bent fins, crust at tanks | Pressure test it |
| Radiator fan | Does not spin when hot, or runs constantly | Fan motor, relay, or control module |
| Coolant temperature sensor | Gauge erratic, fan logic wrong, check-engine light | Sensor or wiring, not necessarily a mechanical fault |
Squeeze each hose with the engine cold. A healthy hose feels firm and springs back; one that feels spongy or crunchy inside is done, even if it looks fine outside.
Symptom-to-Cause Guide
Use this when something is already wrong. It is not a substitute for a pressure test, but it narrows the field before you start buying parts.
| Symptom | Likely causes | First check |
|---|---|---|
| Sweet smell, no puddle | Slow seep at a hose end, clamp, or water-pump weep hole | Look for pink or white crust; pressure test |
| Level drops with no visible leak | Head gasket, heater core, or a seep that only appears hot | White exhaust smoke, sweet tailpipe smell, combustion-gas test |
| Gauge climbs in traffic, drops on the highway | Radiator fan not running, clogged radiator, failing water pump | Confirm fan runs when hot; feel both radiator hoses |
| Gauge stays low, heater weak | Thermostat stuck open | Compare both radiator hoses after warm-up |
| Heater cold on one side only | Trapped air, clogged heater core, blend-door fault | Bleed the system; check for a clogged core |
| Coolant warning light with normal level | Sensor or wiring fault | Scan for codes before replacing parts |
| Whine or grinding from the front of the engine | Water-pump bearing | Listen cold and hot; check for play |
The water pump and thermostat fail most often on higher-mileage Audis. A drip from the pump weep hole means the seal is going. A thermostat stuck open leaves the gauge low and the heater weak; one stuck closed sends the temperature climbing.
DIY Versus Professional Diagnosis
Most owner-level checks, level, color, hose squeeze, clamp inspection, fan observation, are safe with basic hand tools and a cold engine. The line moves when you need a pressure tester, combustion-gas tester, manufacturer-specific scan tool, or model-specific bleed procedure. Those are the situations where a shop saves money: a misdiagnosed water pump or head-gasket misread costs far more than the diagnostic fee.
Overheating Response and Diagnosis Beyond Coolant Replacement
If the engine temperature warning light comes on, pull over and shut the engine off.
Once it has cooled, here is the order we recommend for diagnosis:
- Check the cold level and look for a leak.
- Confirm the radiator fan runs when the engine is hot.
- Feel both radiator hoses. One hot and one cold points to a stuck thermostat.
- Pressure test the system to find seeps you cannot see.
- Check for a failed water pump or a clogged radiator.
A cooling system that keeps losing coolant with no visible leak may be burning it through a failing head gasket.
The most common mistake is replacing the coolant and calling it fixed. Coolant does not cause overheating; a failed component does. Find the component first, then refill.
Frequently Asked Questions
How often should Audi coolant be changed?
Audi does not publish a single universal interval because it varies by model, engine, and coolant type. Many newer models use long-life coolant with a time or mileage interval specified in the maintenance schedule, often around 10 years or 100,000 miles, while older models may require more frequent service. Always confirm the exact interval in your owner's manual or with a dealer for your specific VIN. Using the manufacturer-recommended coolant and interval is the safest way to protect the engine cooling system.
What are the signs of an Audi coolant leak?
Common Audi coolant leak symptoms include low coolant level in the reservoir, a sweet smell under the hood, visible puddles of pink or purple fluid, white residue around hoses and clamps, and the temperature warning light coming on. You may also notice the heater blowing cold or the engine overheating. If you see any of these, pressure-test the system and inspect hoses, the expansion tank, water pump, and radiator before driving further.
How do you check coolant level in an Audi?
Check the coolant level when the engine is cold. Locate the translucent expansion tank, which is usually marked with MIN and MAX lines. The level should sit between those marks. If it is below MIN, top up with the correct manufacturer-recommended coolant mixed as specified, not plain water. Never open the reservoir cap while the engine is hot, because pressurized hot coolant can cause severe burns. Recheck after topping up and investigate any repeated loss.
What should you do if an Audi engine overheats?
If the temperature warning light comes on or the gauge climbs into the red, pull over safely and shut off the engine. Do not open the coolant reservoir cap while hot. Let the engine cool completely, then check the coolant level and look for leaks. If the level is low, top up with the correct coolant mixture. If overheating continues, have the cooling system pressure-tested and diagnosed for a failed thermostat, water pump, radiator fan, or head gasket issue before driving.
Cooling system maintenance on an Audi rewards the owner who checks early and uses the right parts. A monthly level check, a yearly hose inspection, and the correct coolant at the right interval will keep the temperature gauge where it belongs. When you need genuine OEM coolant, hoses, clamps, water pumps, or thermostats, European OEM Parts Direct makes it easy to match the exact part to your VIN, with genuine components and quick shipping. Find your parts and keep your Audi running cool.