 how-to
How Do You Replace Porsche Brake Pads Step by Step?
Quick Summary
A porsche brake pad replacement involves lifting the car safely, removing the wheel, releasing the caliper, swapping the pads, and reassembling to torque specification. Confirm the correct pads for your VIN first, and on newer models with electronic parking brakes, put the rear actuator into service mode before retracting the piston.
- Confirm pad fitment against your VIN before ordering or installing parts.
- Support the caliper on a hanger so the brake hose never carries its weight.
- Replace the rotor if it is below the minimum thickness stamped on it.
- Tighten caliper bolts and lug nuts to the torque specification in your service reference.
- Follow the pad manufacturer's bedding instructions before hard stops from speed.
Table of Contents
- Porsche Brake Pad Replacement Tools and Parts You Need
- Safe Vehicle Lifting and Wheel Removal
- Removing the Caliper, Retaining Clips, and Old Pads
- Compressing the Piston and Inspecting Rotors
- Porsche Brake Pad Wear Sensor Replacement and Reinstallation
- Porsche Brake Pad Replacement Time and Electronic Parking Brake Service Mode
- Porsche Brake Pad Bedding Procedure and Your First Drive
- Frequently Asked Questions
Replacing the brake pads on a Porsche is one of the more rewarding DIY jobs you can tackle, and it's also one where a small mistake can cost you. European OEM Parts Direct offers genuine parts for Audi, Porsche, and Volkswagen vehicles. The process itself is straightforward: lift the car safely, remove the wheel, release the caliper, swap the pads, and reassemble. The details matter, though, especially on newer models with electronic parking brakes.
If you're searching for a porsche brake pad replacement step by step walkthrough, this one covers each stage in order and flags the spots where DIYers usually run into trouble. For related jobs, browse our Porsche DIY repair guides.
Porsche Brake Pad Replacement Tools and Parts You Need
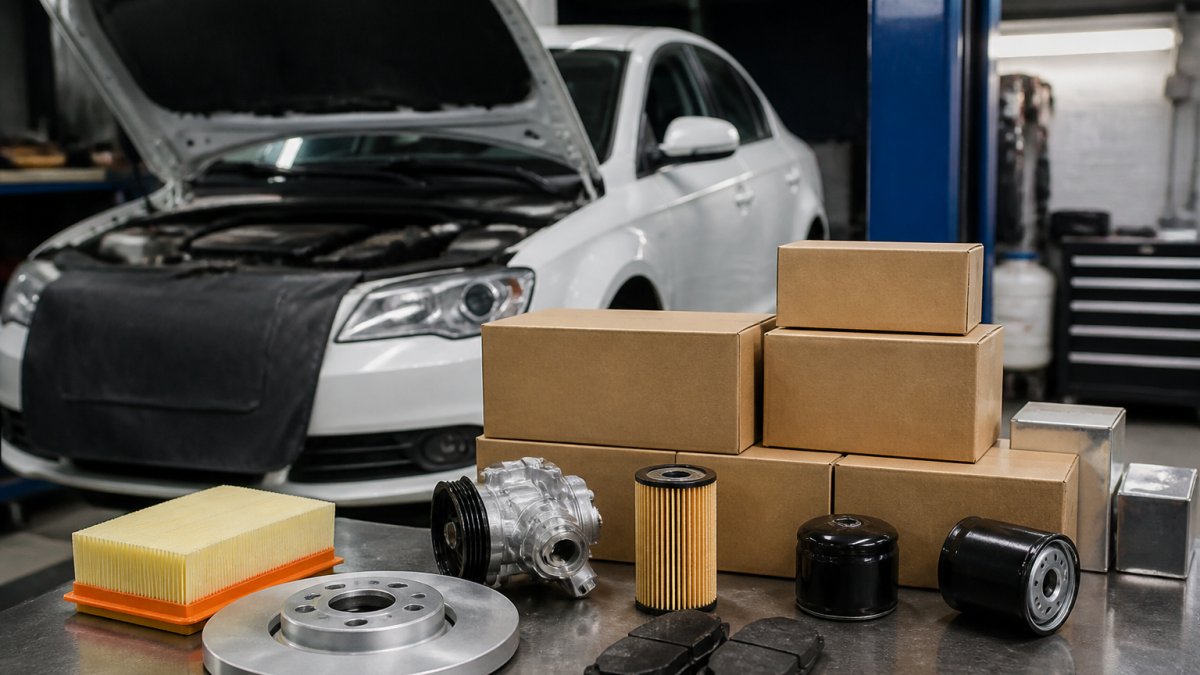
Start with the right parts. Porsche brake pads are model- and generation-specific, so confirm the fitment before you order. Our guide on buying genuine Porsche parts explains how to source the right components. A VIN search can help identify parts for your vehicle. You can follow how to decode a Porsche VIN for parts to confirm the correct pads.
You will generally need:
- A floor jack and two rated jack stands
- Wheel chocks and a wheel wrench or impact driver
- A torque wrench (Porsche specifies torque values for caliper bolts and wheel lug nuts)
- A T60 Torx bit and a set of sockets
- A C-clamp or piston compression tool
- Brake cleaner and a wire brush
- High-temperature brake lubricant for the pad contact points and slider pins
- Replacement pads, wear sensors if your model uses them, and new retaining clips
Keep the service manual or an authoritative service reference nearby for torque specifications. Don't guess at them.
Watch out: Check the part number against your VIN before you start.
The article lists the tools and parts you will generally need before starting the job.
| Item | Value | Note |
|---|---|---|
| Jack stands | Two rated stands | Place under the correct support points |
| Caliper bolt torque | Per Porsche specification | Check the service reference, do not guess |
| Lubricant | High-temperature brake lubricant | Apply to pad contact points and slider pins |
| Torx bit | T60 | Needed for the job |
| Part check | VIN search | Confirm fitment before ordering |
Safe Vehicle Lifting and Wheel Removal
Park on level, solid ground and set the parking brake before you lift anything. Chock the wheels that stay on the ground. Use the jacking points listed in your owner's manual, then lower the car onto jack stands placed at the correct support points.
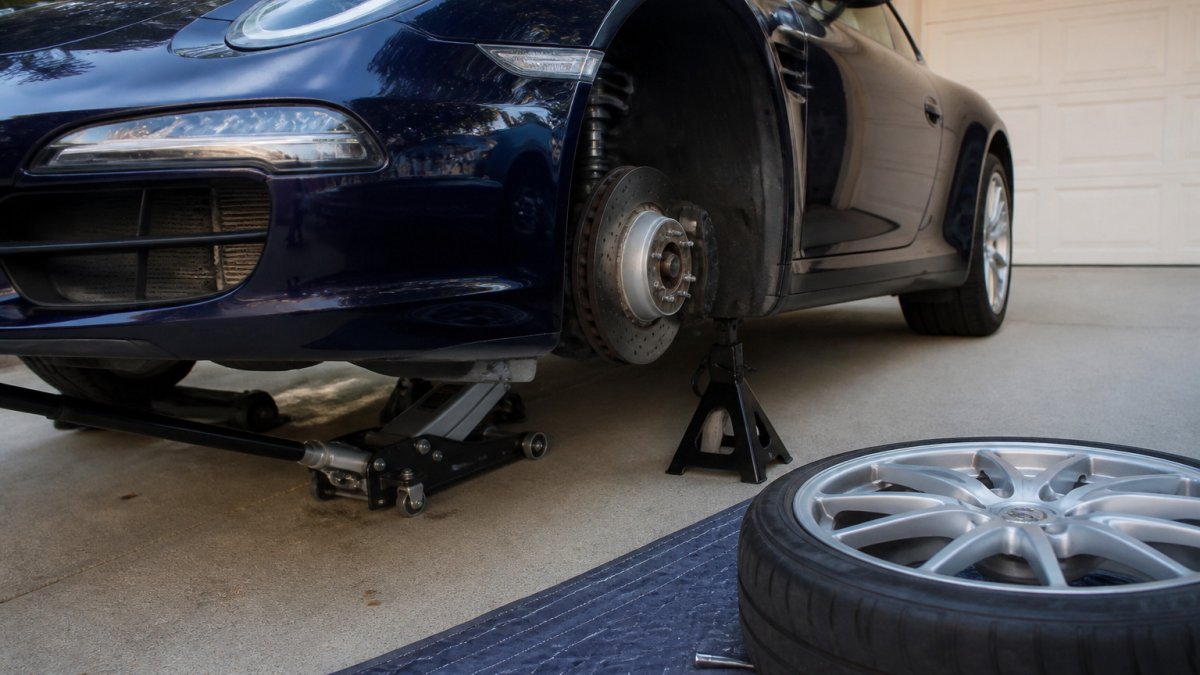
Never work under a car held only by a jack. Once it's on stands, loosen the lug nuts while the wheel is still on the ground, then raise the car and remove the wheel.
Removing the Caliper, Retaining Clips, and Old Pads
Caliper hardware is not universal across the Porsche lineup, so identify your caliper family before you put a wrench on anything. The three patterns you are most likely to encounter are fixed multi-piston calipers (common on 911 and Boxster/Cayman models), sliding calipers with guide pins (common on Cayenne and some Macan and Panamera rear axles), and rear calipers with an integrated electronic parking brake motor. Each comes apart differently, and forcing the wrong fastener is how DIYers strip a caliper bracket.
Fixed multi-piston calipers. These typically use two radial mounting bolts that thread into the upright or adapter, plus a pad retaining pin and spring clip arrangement at the top of the caliper. Remove the retaining pin first (a drift and light hammer tap usually frees it), then slide out the pad spring or anti-rattle clip. Support the caliper on a hanger before you remove the mounting bolts so the brake hose is never load-bearing. On many 996/997 and 981/718 front calipers the pad pins are held by a small set screw or clip, confirm the arrangement in your service reference before prying.
Sliding calipers with guide pins. Cayenne and several other models use a caliper bracket bolted to the knuckle and a caliper that slides on lubricated guide pins. Remove the guide-pin bolts (often a hex or Torx head), lift the caliper off the bracket, and then remove the pads from the bracket. Inspect the guide-pin boots and the pin bores, a torn boot or dried-out pin is a common cause of uneven pad wear and a dragging brake. Clean the bores and re-grease with high-temperature brake lubricant on reassembly.
Rear calipers with an electronic parking brake. Do not attempt to retract the piston or remove the caliper until the EPB has been placed in service mode with a diagnostic tool (covered in the EPB section below). The actuator motor sits on the back of the caliper, and turning or forcing the piston without service mode can damage the motor or the internal screw mechanism.
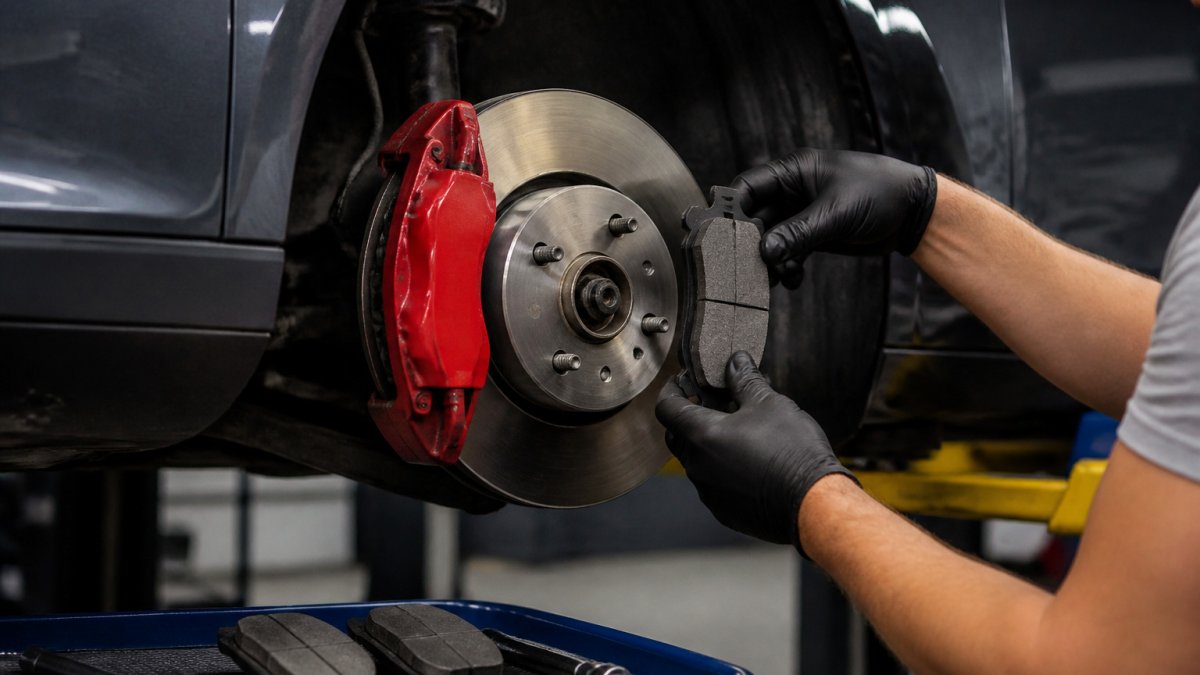
Regardless of caliper type, the sequence after the caliper is free is similar: pull the retaining clips or pins, slide the old pads out, and lay them out in the order they came off so you can compare wear. Note which pad was inboard and which was outboard, a large wear difference between the two points to a sticking guide pin, a seized piston, or a collapsed hose, and that has to be fixed before new pads go in.
Before you move on, inspect the caliper and bracket for fluid leaks at the piston seal and bleeder, cracked or torn boots, and seized slider pins. Clean the bracket pad-contact surfaces with a wire brush and apply a thin, even layer of high-temperature brake lubricant only at the metal-to-metal contact points, not on the friction surface and not on the rotor. Excess lubricant that migrates onto the rotor or pad face is a common cause of noise and poor bedding.
Porsche service information and torque specifications
Compressing the Piston and Inspecting Rotors
Compressing the piston makes room for the thicker new pads. Open the brake fluid reservoir cap first, because pushing the piston back raises the fluid level. Use a C-clamp or compression tool, and push slowly and evenly.
Keep an eye on the reservoir. Too much fluid can overflow onto painted surfaces, so wipe any spills right away. Fluid also damages paint, so keep it off the bodywork.
With the pads out, check the rotor. Look for deep grooves, heavy scoring, cracks, or a lip at the outer edge. Measure thickness against the minimum specification stamped on the rotor or listed in the service data. A rotor below minimum thickness needs replacement, and replacing pads on a worn rotor will shorten the life of the new pads.
Porsche Brake Pad Wear Sensor Replacement and Reinstallation
Many Porsche models use wear sensors built into the pads. If your new pads come with a sensor, transfer or install it as specified. Route the sensor wire so it can't rub against the rotor or get pinched when the caliper goes back on.
Install the new pads with their backing plates facing the correct direction. Fit the retaining clips or pins, then add a light coat of lubricant to the slider pins before you reinstall the caliper. Tighten the caliper bolts to the torque specification in your service reference.
Reinstall the wheel, lower the car, and tighten the lug nuts in a star pattern to the correct torque.
Porsche Brake Pad Replacement Time and Electronic Parking Brake Service Mode
Many newer Porsche models have an electronic parking brake (EPB) that controls the rear calipers. Before you retract the rear piston, the car usually needs to be put into service mode with a diagnostic tool. Without it, the EPB motor can be damaged. Check whether your model requires this step before you start on the rear.
Once you've finished, the system typically needs to be reset with the same tool before the EPB works normally again.
Porsche Brake Pad Bedding Procedure and Your First Drive
Bedding is the process of transferring a thin, even layer of friction material onto the rotor face. The exact cycle varies by pad compound, so check the pad manufacturer's bedding instructions, they override any generic procedure, including this one.
Avoid riding the pedal, and avoid hard stops from high speed until the pads have bedded.
Post-installation checklist. After the first drive, work through this list before you trust the car:
Keep in mind that your model's manual is a reference for torque values, service mode, fluid specification, and bedding. Work carefully, use genuine parts, and take your time.
Frequently Asked Questions
How do you replace brake pads on a Porsche?
Lift the car safely and remove the wheel. Unbolt the caliper slider bolts, lift the caliper off the rotor, and support it so the brake hose is not stretched. Remove the retaining clips and old pads, then compress the caliper piston back into its bore to make room for the thicker new pads. Clean and lubricate the contact points, install the new pads with their wear sensors, reinstall the caliper, and torque the bolts to the specification in the official Porsche service information. Repeat on the other side, then pump the brake pedal until it is firm before driving.
Can you replace Porsche brake pads yourself?
Yes, if you are comfortable working on your car and have the right tools, a torque wrench, and jack stands. Porsche models differ by generation, so confirm the procedure for your exact model before starting. Electronic parking brake models on some rear calipers require a service mode to retract the piston safely, and skipping that step can damage the actuator. If you are unsure at any point, a qualified technician can finish the job.
Do Porsche brake pads need to be replaced in pairs?
Yes. Always replace pads on both wheels of the same axle at the same time so braking force stays even. Replacing only one side can cause the car to pull under braking and uneven wear. Front and rear pads are often serviced on different schedules, but each axle should be done as a set.
How do you bed in new Porsche brake pads?
Follow the pad manufacturer's specific bedding instructions for your product.