 how-to
Replace Audi Q5 8R Brake Pads: DIY Step-by-Step Guide
Table of Contents
- Tools and Equipment You'll Need
- Safety Precautions and Vehicle Lifting
- How to Access and Remove Old Brake Pads
- Electronic Parking Brake Service Mode and VCDS Setup
- Installing New Brake Pads and Torque Specifications
- Bedding In Your New Brake Pads
- Brake Fluid Check and Final Inspection
- Frequently Asked Questions
Last Updated: September 22, 2026
Tools and Equipment You'll Need
To replace brake pads Audi Q5 8R requires specific tools and genuine OEM parts. Gather these items before you start working.
Essential Tools:
- Jack and jack stands (rated for your vehicle weight)
- Lug nut socket and wrench
- Brake pad removal tool or flathead screwdriver
- Torque wrench (calibrated to foot-pounds)
- Brake cleaner spray
- Anti-seize lubricant
- OBD scanner with VCDS capability (for electronic parking brake service mode)
- Piston retraction tool (for caliper piston compression)
Parts You'll Need:
- Genuine OEM brake pads for your Q5 8R generation
- OEM brake hardware kit (includes clips and shims)
- Brake fluid (check your owner's manual for specification)
The difference between using genuine OEM parts and aftermarket alternatives matters more than most DIYers realize. OEM pads are engineered specifically for your Q5's braking system, caliper geometry, and rotor specifications. Aftermarket pads often produce more brake dust, wear faster, and may not integrate properly with your vehicle's electronic systems.
At European OEM Parts Direct, we offer a comprehensive inventory of genuine Audi brake components. Our vehicle picker tool helps you identify the exact part numbers for your specific Q5 model year. This eliminates the guesswork and ensures compatibility with your electronic parking brake system.
Safety Precautions and Vehicle Lifting
Never work under a vehicle supported only by a jack. This is how serious injuries happen.
Safe Lifting Procedure:
- Park on level, solid ground away from traffic
- Engage the parking brake firmly
- Place wheel chocks behind the rear wheels
- Loosen lug nuts slightly (while the vehicle is on the ground)
- Use the jack to lift the vehicle
- Install jack stands rated for at least 150% of your vehicle's weight
- Lower the vehicle onto the jack stands
- Remove the lug nuts completely and set them aside in a safe container
Critical Safety Rules:
- Never work under a vehicle supported only by a jack
- Never remove all four wheels at once (work on one axle at a time)
- Wear safety glasses to protect from brake dust and debris
- Ensure adequate ventilation if working in an enclosed space
- Keep children and pets away from the work area
Brake dust contains asbestos in older vehicles and should be treated with respect. Wear a dust mask rated for fine particles. Brake cleaner is flammable, so keep it away from ignition sources and sparks.
The electronic parking brake on your Q5 8R adds a safety layer. Once you've lifted the vehicle and removed the wheels, you'll need to enter service mode using an OBD scanner. This retracts the brake calipers and disengages the electronic brake mechanism, allowing you to access the brake pads safely.
How to Access and Remove Old Brake Pads
With your Q5 safely on jack stands, you can now access the brake components. Start with one wheel at a time.
Removing the Wheel and Caliper:
- Remove the lug nuts and set them aside
- Pull the wheel straight toward you to remove it
- Locate the caliper bolts (typically two bolts on the back of the caliper)
- Use your socket wrench to remove these bolts
- Gently pull the caliper away from the rotor
- Do not let the caliper hang by the brake line (support it with a bungee cord or wire)
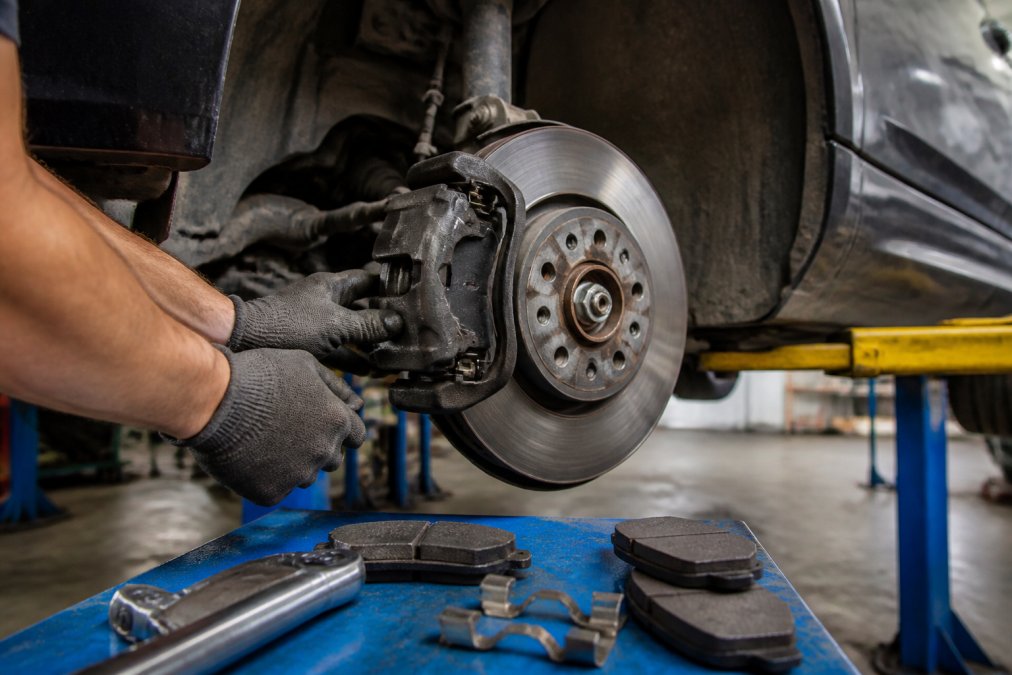
Accessing the Brake Pads: Once the caliper is removed, the old brake pads are visible inside the caliper carrier. These pads are held in place by clips and shims. The brake pad wear sensor is typically attached to the inner pad and wires back to your Q5's electronic brake warning system.
Removing Old Pads:
- Use a brake pad removal tool or flathead screwdriver to gently pry the old pads out
- Remove the brake pad clips from the caliper carrier
- Inspect the rotor for scoring or uneven wear
- Clean the caliper carrier thoroughly with brake cleaner
This is where many DIYers miss an important step. The caliper piston must be retracted before new, thicker pads can fit. The piston is the cylindrical component inside the caliper that pushes the brake pad against the rotor. Over time, as pads wear, the piston extends. New pads are thicker, so the piston needs to move back into the caliper body.
Electronic Parking Brake Service Mode and VCDS Setup
The electronic parking brake on your Q5 8R requires special handling during brake pad replacement. This system uses an electric motor to engage and disengage the brake, unlike traditional mechanical parking brakes.
Why Service Mode Matters:
When you lift the vehicle, the electronic parking brake remains engaged. If you try to compress the caliper piston without entering service mode, you'll damage the brake system. Service mode disengages the electronic brake mechanism and retracts the calipers, allowing safe pad replacement.
Entering Service Mode with VCDS:
VCDS (VAG-COM Diagnostic System) is the diagnostic tool used for Audi, Volkswagen, and Porsche vehicles. You'll need either a VCDS cable or a compatible OBD scanner with VCDS functionality.
Steps to Enter Service Mode:
- Connect your OBD scanner to the diagnostic port (located beneath the steering column)
- Open the VCDS software on your computer
- Select your vehicle (Q5 8R)
- Navigate to the brake system module
- Select "Service Mode" or "Brake Pad Reset"
- Follow the on-screen prompts to disengage the electronic parking brake
- The system will retract the caliper piston automatically
Once in service mode, the brake system is safe to work on.
Many DIYers use a borrowed or rented OBD scanner rather than purchasing one outright. If you plan to perform regular maintenance on your Q5, investing in a quality VCDS-compatible scanner is worthwhile.
Installing New Brake Pads and Torque Specifications
Installing New Brake Pads:
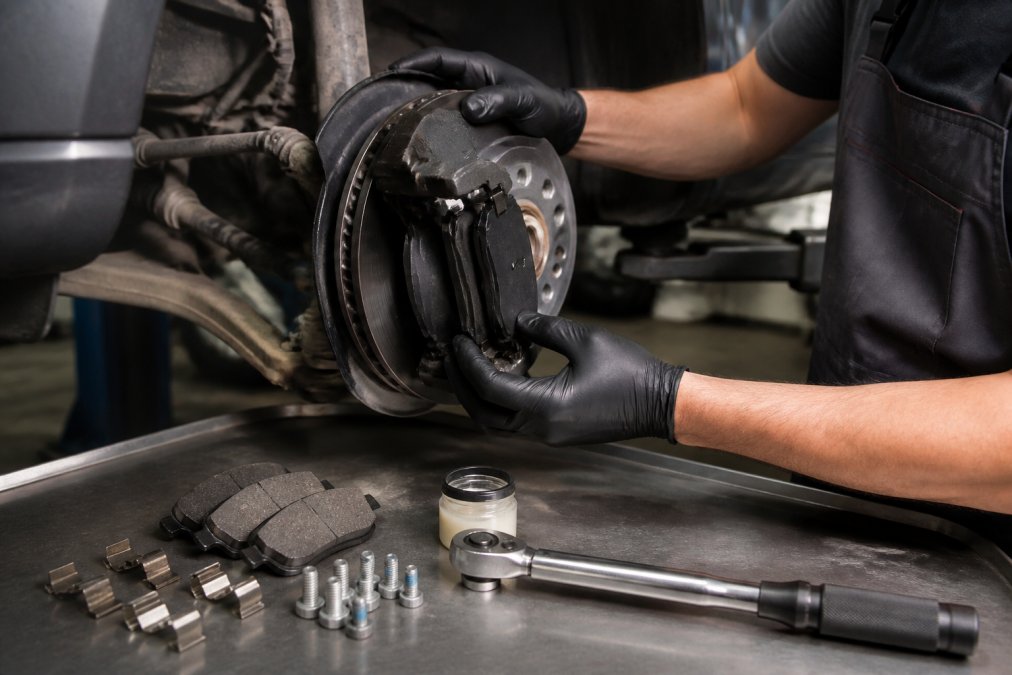
- Apply a thin layer of anti-seize lubricant to the caliper carrier where the pads slide
- Install the new brake pad clips on the caliper carrier
- Place the outer brake pad into the caliper carrier (this is the pad that faces the rotor)
- Place the inner brake pad into the caliper piston (ensure the wear sensor wire is properly routed)
- Verify both pads are seated firmly and level
Reinstalling the Caliper:
Audi Q5 8R Brake Caliper Torque Specifications:
| Component | Torque Specification | Notes |
|---|---|---|
| Caliper mounting bolts | 26 ft-lbs | Apply to both bolts evenly |
| Wheel lug nuts | 89 ft-lbs | Torque in star pattern |
| Caliper carrier bolts | 148 ft-lbs | Only if removing carrier |
| Brake line fitting | 12 ft-lbs | If disconnecting brake line |
After torquing the caliper bolts, spin the wheel by hand. It should rotate freely without rubbing or grinding sounds. If you hear noise, the caliper may be misaligned. Stop and recheck the bolt torque and pad seating.
Bedding In Your New Brake Pads
Bedding-in is the process of conditioning new brake pads to your rotors. This step determines how well your brakes perform and how long the pads last.
Bedding-In Procedure:
- After installation, drive the vehicle at normal speeds for 5-10 minutes to warm the brakes gently
- Make 5-10 moderate stops from 30 mph to 5 mph (avoid hard braking)
- Allow the brakes to cool for 15 minutes (do not use the parking brake during cooling)
- Make 5-10 harder stops from 45 mph to 5 mph (still not emergency braking)
- Allow another 15-minute cool-down period
- Repeat this cycle 2-3 times over your next 100-150 miles of driving
Brake Fluid Check and Final Inspection
Before lowering your Q5 from the jack stands, perform a complete brake system inspection.
Brake Fluid Level Check:
Final Inspection Checklist:
- Caliper bolts are torqued to 26 ft-lbs
- Wheel lug nuts are torqued to 89 ft-lbs
- Brake pads are seated firmly in the caliper carrier
- Brake line connections are tight and leak-free
- Rotor spins freely without rubbing
- Brake fluid level is between MIN and MAX
- Wheels are properly installed and balanced
Frequently Asked Questions
What tools are required to replace brake pads on an Audi Q5 8R?
You'll need a socket set, jack stands, a torque wrench, a piston retraction tool (or old pad and C-clamp), brake cleaner, anti-seize lubricant, and new OEM brake pads. For electronic parking brake service, a VCDS scan tool is essential to enter service mode. A brake fluid level checker and a lug nut socket complete the setup. Having all tools ready before starting prevents delays and ensures you can properly torque caliper bolts to specification.
Do I need a VCDS scan tool to retract the electronic parking brake on an Audi Q5?
Yes. The Audi Q5 8R uses an electronic parking brake that cannot be retracted manually like older mechanical systems. A VCDS scan tool allows you to enter service mode, which automatically retracts the brake piston for safe pad removal and installation. Without it, you risk damaging the electronic parking brake system or the caliper piston. This is one of the most critical differences between servicing modern Audi vehicles and older models.
What is the correct torque specification for Audi Q5 brake caliper bolts?
Always verify your specific model year and caliper type in your service manual or parts documentation, as specifications can vary. Using a calibrated torque wrench is non-negotiable, under-torquing risks brake failure, while over-torquing damages bolt threads and caliper mounting points.
How long does the bedding-in procedure take for new Audi Q5 brake pads?
Perform moderate braking cycles without hard stops or prolonged braking during this period. This allows the new pad material to mate properly with the rotor surface, establish consistent friction, and achieve full stopping power. Skipping or rushing bedding-in can result in brake fade, uneven wear, and reduced pad lifespan.