 how-to
How to Change Audi Oil at Home: Step-by-Step
Table of Contents
- What You'll Need: Audi Oil Change Tools List
- Safety Precautions and Preparation
- Locating the Oil Filter Housing and Drain Plug
- Step-by-Step: How to Change Audi Oil at Home
- Checking Oil Levels and Pressure
- Understanding Audi Oil Change Interval and Service Requirements
- How to Reset Audi Service Light After an Oil Change
- Common Mistakes to Avoid
- Frequently Asked Questions
Last Updated: September 24, 2026
What You'll Need: Audi Oil Change Tools List
Changing your Audi oil at home requires specific tools and materials. Having everything ready before you start prevents frustrating mid-job trips to the parts store.
Essential tools:
- Socket set (metric sizes, typically 17mm for drain plug)
- Torque wrench (critical for proper drain plug installation)
- Oil filter wrench or band wrench
- Drain pan (minimum 6-quart capacity)
- Funnel
- Jack and jack stands (never rely on a jack alone)
- Shop rags or old towels
- Safety glasses
- Gloves (nitrile or mechanic's gloves)
Materials you'll need:
- New engine oil (check your owner's manual for the correct viscosity grade and quantity)
- New oil filter (OEM or equivalent)
- New drain plug washer or crush washer (often included with the drain plug)
- Replacement drain plug if the original is damaged
European OEM Parts Direct carries genuine Audi drain plugs, washers, and filters. Using OEM components ensures your oil change meets manufacturer specifications and protects your engine's lubrication system.
Optional but helpful:
- Oil extractor or pneumatic extractor (alternative to gravity draining)
- Creeper or low stool (reduces back strain)
- Work light or headlamp
The most common mistake is skipping the crush washer. This small component prevents oil leaks and crankcase pressure buildup. Always replace it with a new one during each oil change.
Safety Precautions and Preparation
Your safety comes first. Engine oil becomes extremely hot during operation. Never work on a hot engine.
Before you start:
- Park on level ground in a well-ventilated area
- Let the engine cool for at least 30 minutes after running
- Engage the parking brake and place wheel chocks behind the rear wheels
- Wear safety glasses and gloves throughout the process
- Ensure adequate lighting in your work area
Lifting your vehicle safely:
- Position the jack under the manufacturer's designated lift point (check your owner's manual or the door jamb)
- Raise the vehicle slowly and deliberately
- Install jack stands immediately under the frame rails
- Never work under a vehicle supported only by a jack
- Lower the vehicle onto the jack stands fully before beginning work
Engine warm-up tip: Some technicians prefer warming the engine for 2-3 minutes before draining. Warm oil flows more freely and carries more contaminants out of the engine. However, ensure the engine has cooled enough that you can safely work underneath.
Remove the underbody splash shield if your Audi has one. This plastic panel protects components but must be removed for drain plug access. It typically fastens with plastic clips or bolts.
Locating the Oil Filter Housing and Drain Plug
Finding these components varies by Audi model year and engine type. Your owner's manual and the VIN search tool at European OEM Parts Direct help identify the exact locations for your specific vehicle.
Drain plug location: The drain plug sits at the lowest point of the oil pan, underneath the engine. On most Audis, it's accessible from below without removing major components.
Common variations by model:
- A4 and A6 sedans: Filter typically on top of engine, drain plug centered under oil pan
- Q5 and Q7 SUVs: Filter housing may be offset; drain plug location varies by generation
- Older models (pre-2010): Spin-on filters more common; newer models increasingly use cartridge filters
- Turbocharged engines: Filter housing sometimes in tighter spaces; extra care needed for wrench clearance
Step-by-Step: How to Change Audi Oil at Home
Draining the Old Engine Oil
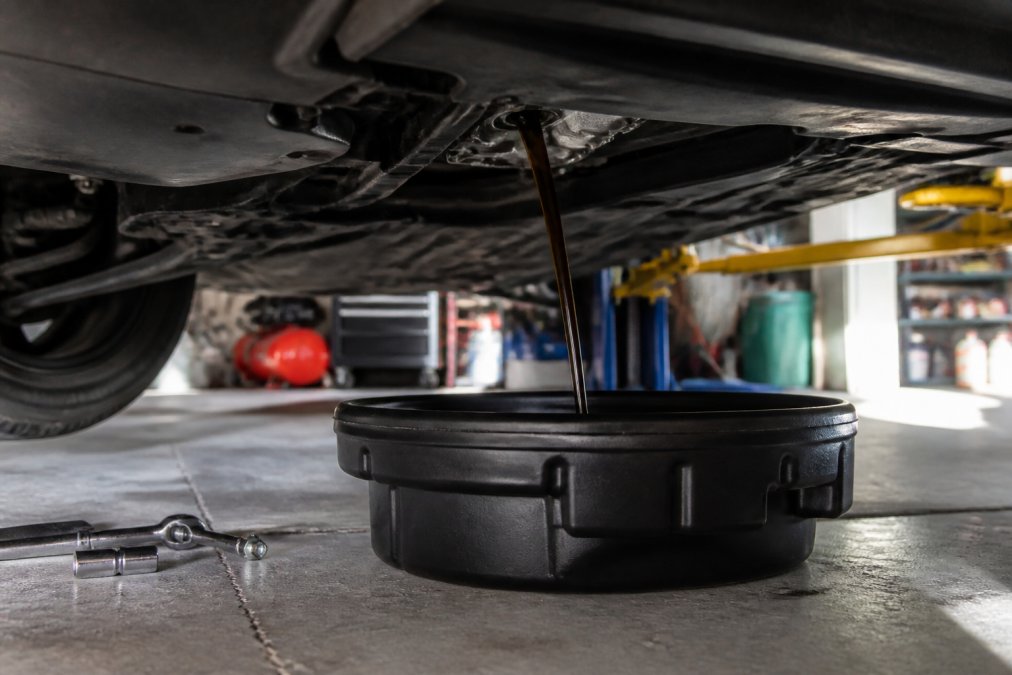
Position your drain pan directly under the drain plug. Oil will splash and splatter, so place the pan slightly offset to catch the initial flow, then center it.
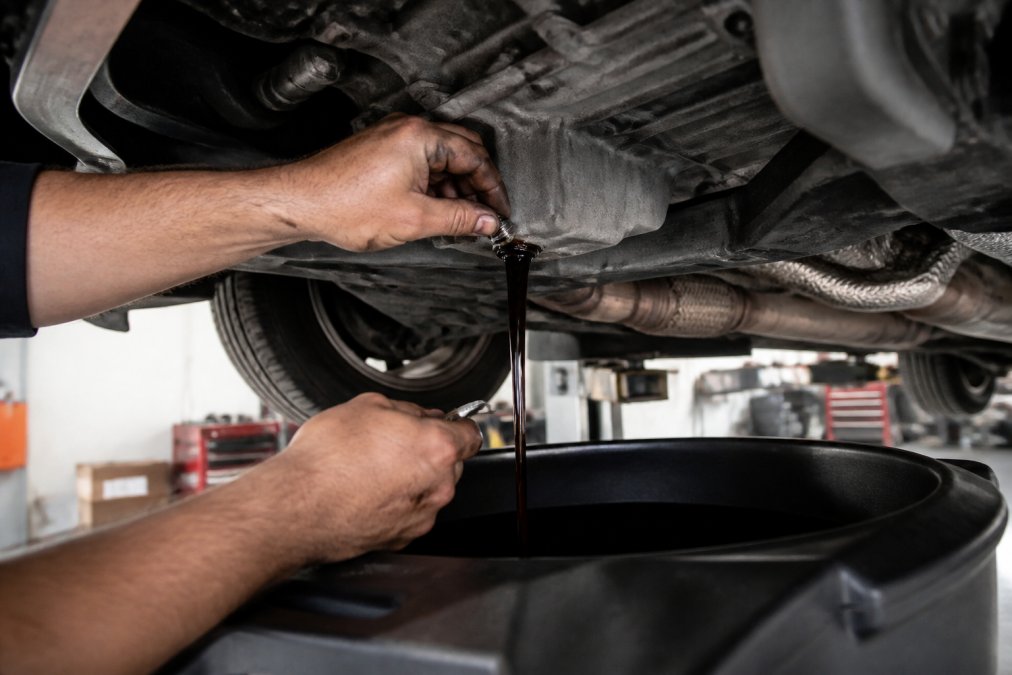
The draining process:
- Using your socket and wrench, loosen the drain plug by turning counterclockwise
- Once loose, carefully unscrew it by hand (the oil may still be warm)
- Remove the old crush washer from the drain plug
- Let the oil drain completely into the pan (this takes 5-10 minutes)
- Wipe the drain plug clean with a shop rag
Removing and Replacing the Oil Filter
The oil filter housing design determines your approach. Cartridge filters require a special socket or wrench. Spin-on filters need a standard filter wrench.
For cartridge-style filters (most modern Audis):
- Locate the filter housing cap on top of the engine
- Use the appropriate socket or filter wrench to turn the cap counterclockwise
- Lift the cap straight up to remove it
- Remove the old filter element and rubber seal
- Clean the housing interior with a shop rag
- Install the new rubber seal (included with the filter element)
- Insert the new filter element into the housing
- Replace the housing cap, turning it clockwise until snug
- Do not over-tighten; hand-tight plus a quarter turn is sufficient
For spin-on filters:
- Position your drain pan underneath
- Use the filter wrench to turn the filter counterclockwise
- Once loose, unscrew by hand and allow remaining oil to drain
- Clean the filter mounting surface on the engine block with a rag
- Apply a thin coat of new oil to the rubber gasket of the new filter
- Thread the new filter onto the mounting surface by hand until the gasket contacts the engine
- Turn an additional three-quarter turn to seat the filter properly
- Do not use the wrench to tighten; hand-tightening only prevents over-torquing
Installing the New Drain Plug and Washer
The drain plug torque specification matters. Under-tightening causes leaks. Over-tightening strips the threads or breaks the plug.
Proper installation:
- Install the new crush washer onto the drain plug
- Thread the drain plug into the pan by hand first
- Use your torque wrench to tighten to the manufacturer's specification (typically 20-30 Nm or 15-22 ft-lbs for Audi engines)
- Check your service manual for your exact model's specification
- The crush washer compresses as you tighten, creating the seal
Adding the Correct Engine Oil
Check your owner's manual for the correct viscosity grade and oil capacity. Using the wrong oil type or viscosity grade compromises engine performance and protection.
Oil addition steps:
- Locate the oil filler cap on top of the engine (usually labeled with an oil can symbol)
- Remove the cap by turning counterclockwise
- Place your funnel in the opening
- Pour the new oil slowly into the funnel
- Stop periodically to check the dipstick level
- Add oil until the level reaches the maximum mark on the dipstick
- Replace the oil filler cap and turn clockwise until snug
- Do not over-tighten the cap
Checking Oil Levels and Pressure
Start the engine and let it run for 30-60 seconds. This circulates the new oil through the lubrication system and allows the new filter to fill.
After the initial run:
- Turn off the engine
- Wait 2 minutes for oil to drain back into the pan
- Remove the dipstick, wipe it clean, reinsert fully, then remove again
- Check the level between the minimum and maximum marks
- Add more oil if needed to reach the maximum mark
Understanding Audi Oil Change Interval and Service Requirements
Modern Audi engines use synthetic oil that lasts longer than conventional oil. Your service interval depends on the oil type, engine, and driving conditions.
Typical service intervals:
- Synthetic oil: 10,000-15,000 miles or 12 months
- Conventional oil: 5,000-7,500 miles or 6 months
- Check your owner's manual for your specific model's recommendation
Factors that shorten intervals:
- Frequent short trips (engine doesn't reach full operating temperature)
- Towing or carrying heavy loads
- Driving in dusty or sandy environments
- Aggressive driving with high engine speeds
How to Reset Audi Service Light After an Oil Change
The service light on your dashboard reminds you of scheduled maintenance. After completing an oil change, you must reset this indicator.
Reset procedure (most Audis):
- Turn the ignition to the "On" position without starting the engine
- Press the odometer reset button repeatedly until "Service" appears on the display
- Press and hold the button for 10 seconds until the display shows "Service Reset"
- Turn the ignition off
- The service light should disappear on your next engine start
Common Mistakes to Avoid
Over-tightening the drain plug: This strips the threads in the oil pan, requiring expensive repairs. Use a torque wrench and tighten to specification only.
Frequently Asked Questions
Can you change your own oil on an Audi?
Yes, you can change Audi oil at home if you have the correct tools, a safe workspace, and follow proper procedures. Most Audi owners can perform this maintenance task themselves, though it requires access to the undercarriage, a drain pan, and the correct oil specification for your model. Always consult your owner's manual for OEM specifications and torque requirements specific to your Audi.
How often should I change the oil in my Audi?
Audi oil change intervals depend on your model year and engine type. Older Audi models typically require oil changes every 5,000 to 10,000 miles, while newer vehicles with synthetic oil may go 10,000 to 15,000 miles. Check your owner's manual or the service reminder on your dashboard for the exact interval for your specific Audi. Synthetic oil generally allows longer intervals than conventional oil.
What type of engine oil is recommended for Audi vehicles?
Audi specifies particular viscosity grades and oil standards for each model. Most Audis use 5W-30 or 5W-40 synthetic oil, though older models may require different grades. Always refer to your owner's manual or the oil filler cap for the exact specification. Using the wrong viscosity or oil type can affect engine performance, fuel economy, and warranty coverage. European OEM Parts Direct can help you identify the correct oil for your specific Audi model.
Does changing my own oil void my Audi warranty?
Performing your own oil change does not automatically void your Audi warranty, provided you use the correct OEM-specification oil and maintain proper service intervals. However, any damage caused by improper installation or incorrect oil specification may not be covered. Keep records of your oil changes and always use genuine OEM parts and fluids to protect your warranty coverage.
Changing your Audi oil at home saves money and gives you control over maintenance quality. Using genuine OEM parts from European OEM Parts Direct ensures your engine receives the protection it deserves. Our VIN search tool identifies the exact oil filter, drain plug, and washer for your specific model, eliminating guesswork. Get started with European OEM Parts Direct and maintain your Audi's performance with confidence.